In 2008, I created three ball gowns for myself and two friends, this is the first. It is inspired by the 2007 film ‘Atonement’. The original costume can be seen, left, it was designed by Jacqueline Durran who also created the costumes for the film ‘Pride and Prejudice’ 2005.
Durran created a gown of featherweight silk satin, custom-dyed emerald. Since the Ian McEwan novel on which the film is based treats the frock as a character unto itself, partly responsible for igniting the couple’s passion, Durran felt it was crucial that “instead of being constructed around Keira’s body, the dress skimmed her [frame] and added to a feeling of semi-nakedness.”
http://www.kartanonrouva.net/couture/resatonementgreen.shtml
I found the above website recently, and although I didn’t actually use this in the creation of my version of the gown, it is a very useful source for others trying to recreate the gown themselves.
To begin I drafted the gown on a stand in calicousing the fabric mostly on the bias to create the stretch that would make the fabric cling to the body, the skirt I created is slightly fuller at the back with a short inserted godet  train. Once this was completed I began working in my main fabric. This took a certain amount of re-drafting because the fabric moved a lot more than I anticipated and was quite challenging to wrk with.
I created the sash panel at the hips of the gown in two parts. A front and a detailed, back section. The back was created using a lot of seperate pieces of fabric that crossed over and were applied to the gown and seamed into the side of the dress. The front however was created more simply as a large tie section which I lined. Next time I would probably create a false tie or stitch this down as it tended to slip, also I really should have lined the ties in the same fabric as my main dress as the difference in colour was too obvious.
I had to create this gown on a relatively small budget and as such I didn’t have the luxury of using the beautiful fabric that was used to create the dress in the film. Instead I opted for a far cheaper, and shinier fabric which was of roughly the correct colour. My version is more of a deep emerald colour. The original gown was custom dyed to create the perfect colour, I just chose a fabric as close to this colour as possible.
I did make some aesthetic changes to my gown. I decided that as I didn’t have the facilities at home to create the intricate cutwork sections in the top of the dress, I would instead create a cross-over panel to give detail to the front of the gown. The shape of the bodice  became much more close fitted too. In the first fitting my model requested that I made the gown closer fitted, to give the dress a skin-tight, more flattering look. And so I had to re-draft the bodice and take it in, also adding a belt to accentuate the waist. I was concerned this would take the gown too far away from it’s 1930’s theme but as it was only inspired by the dress from the film, and my client requested the changes I felt they were justified.
Once finished the dress captured the flavour of the original whilst also being a unique and original expression of my client’s style. I was very proud of the outcome even though I learnt a lot from the making of this gown and would have probably recreated it differently the next time I had to.
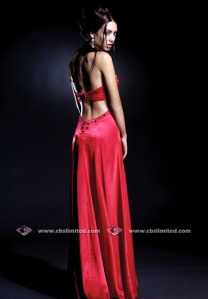
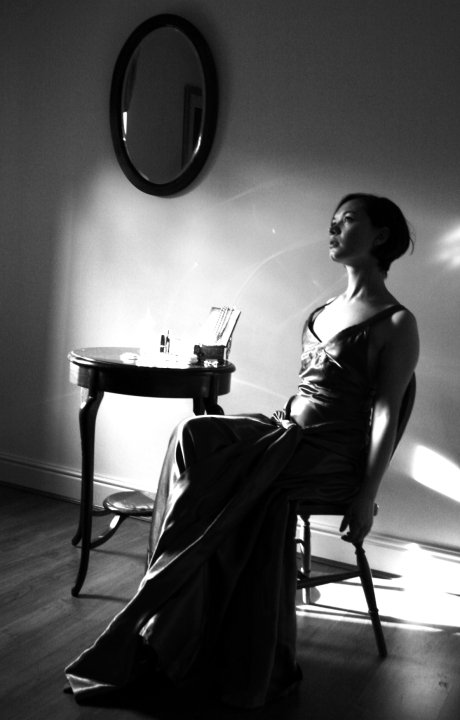
My friend and photographer Rosie Hill, took photos of the gown for her foundation degree project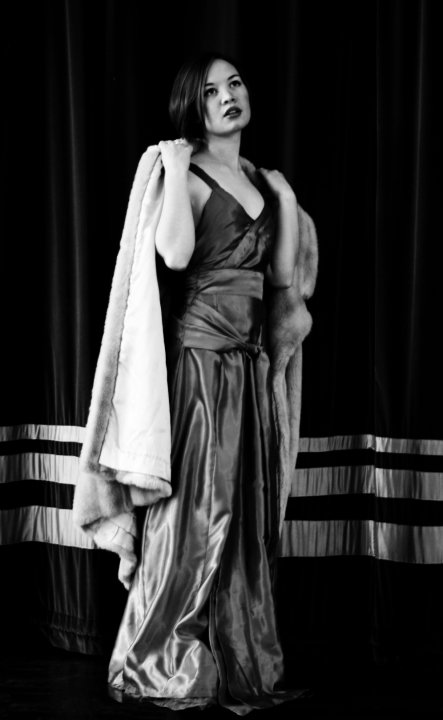 and has said I could include these, right and below, the rights to which belong to her. More examples of her work see: http://www.rosiegrace.co.uk/


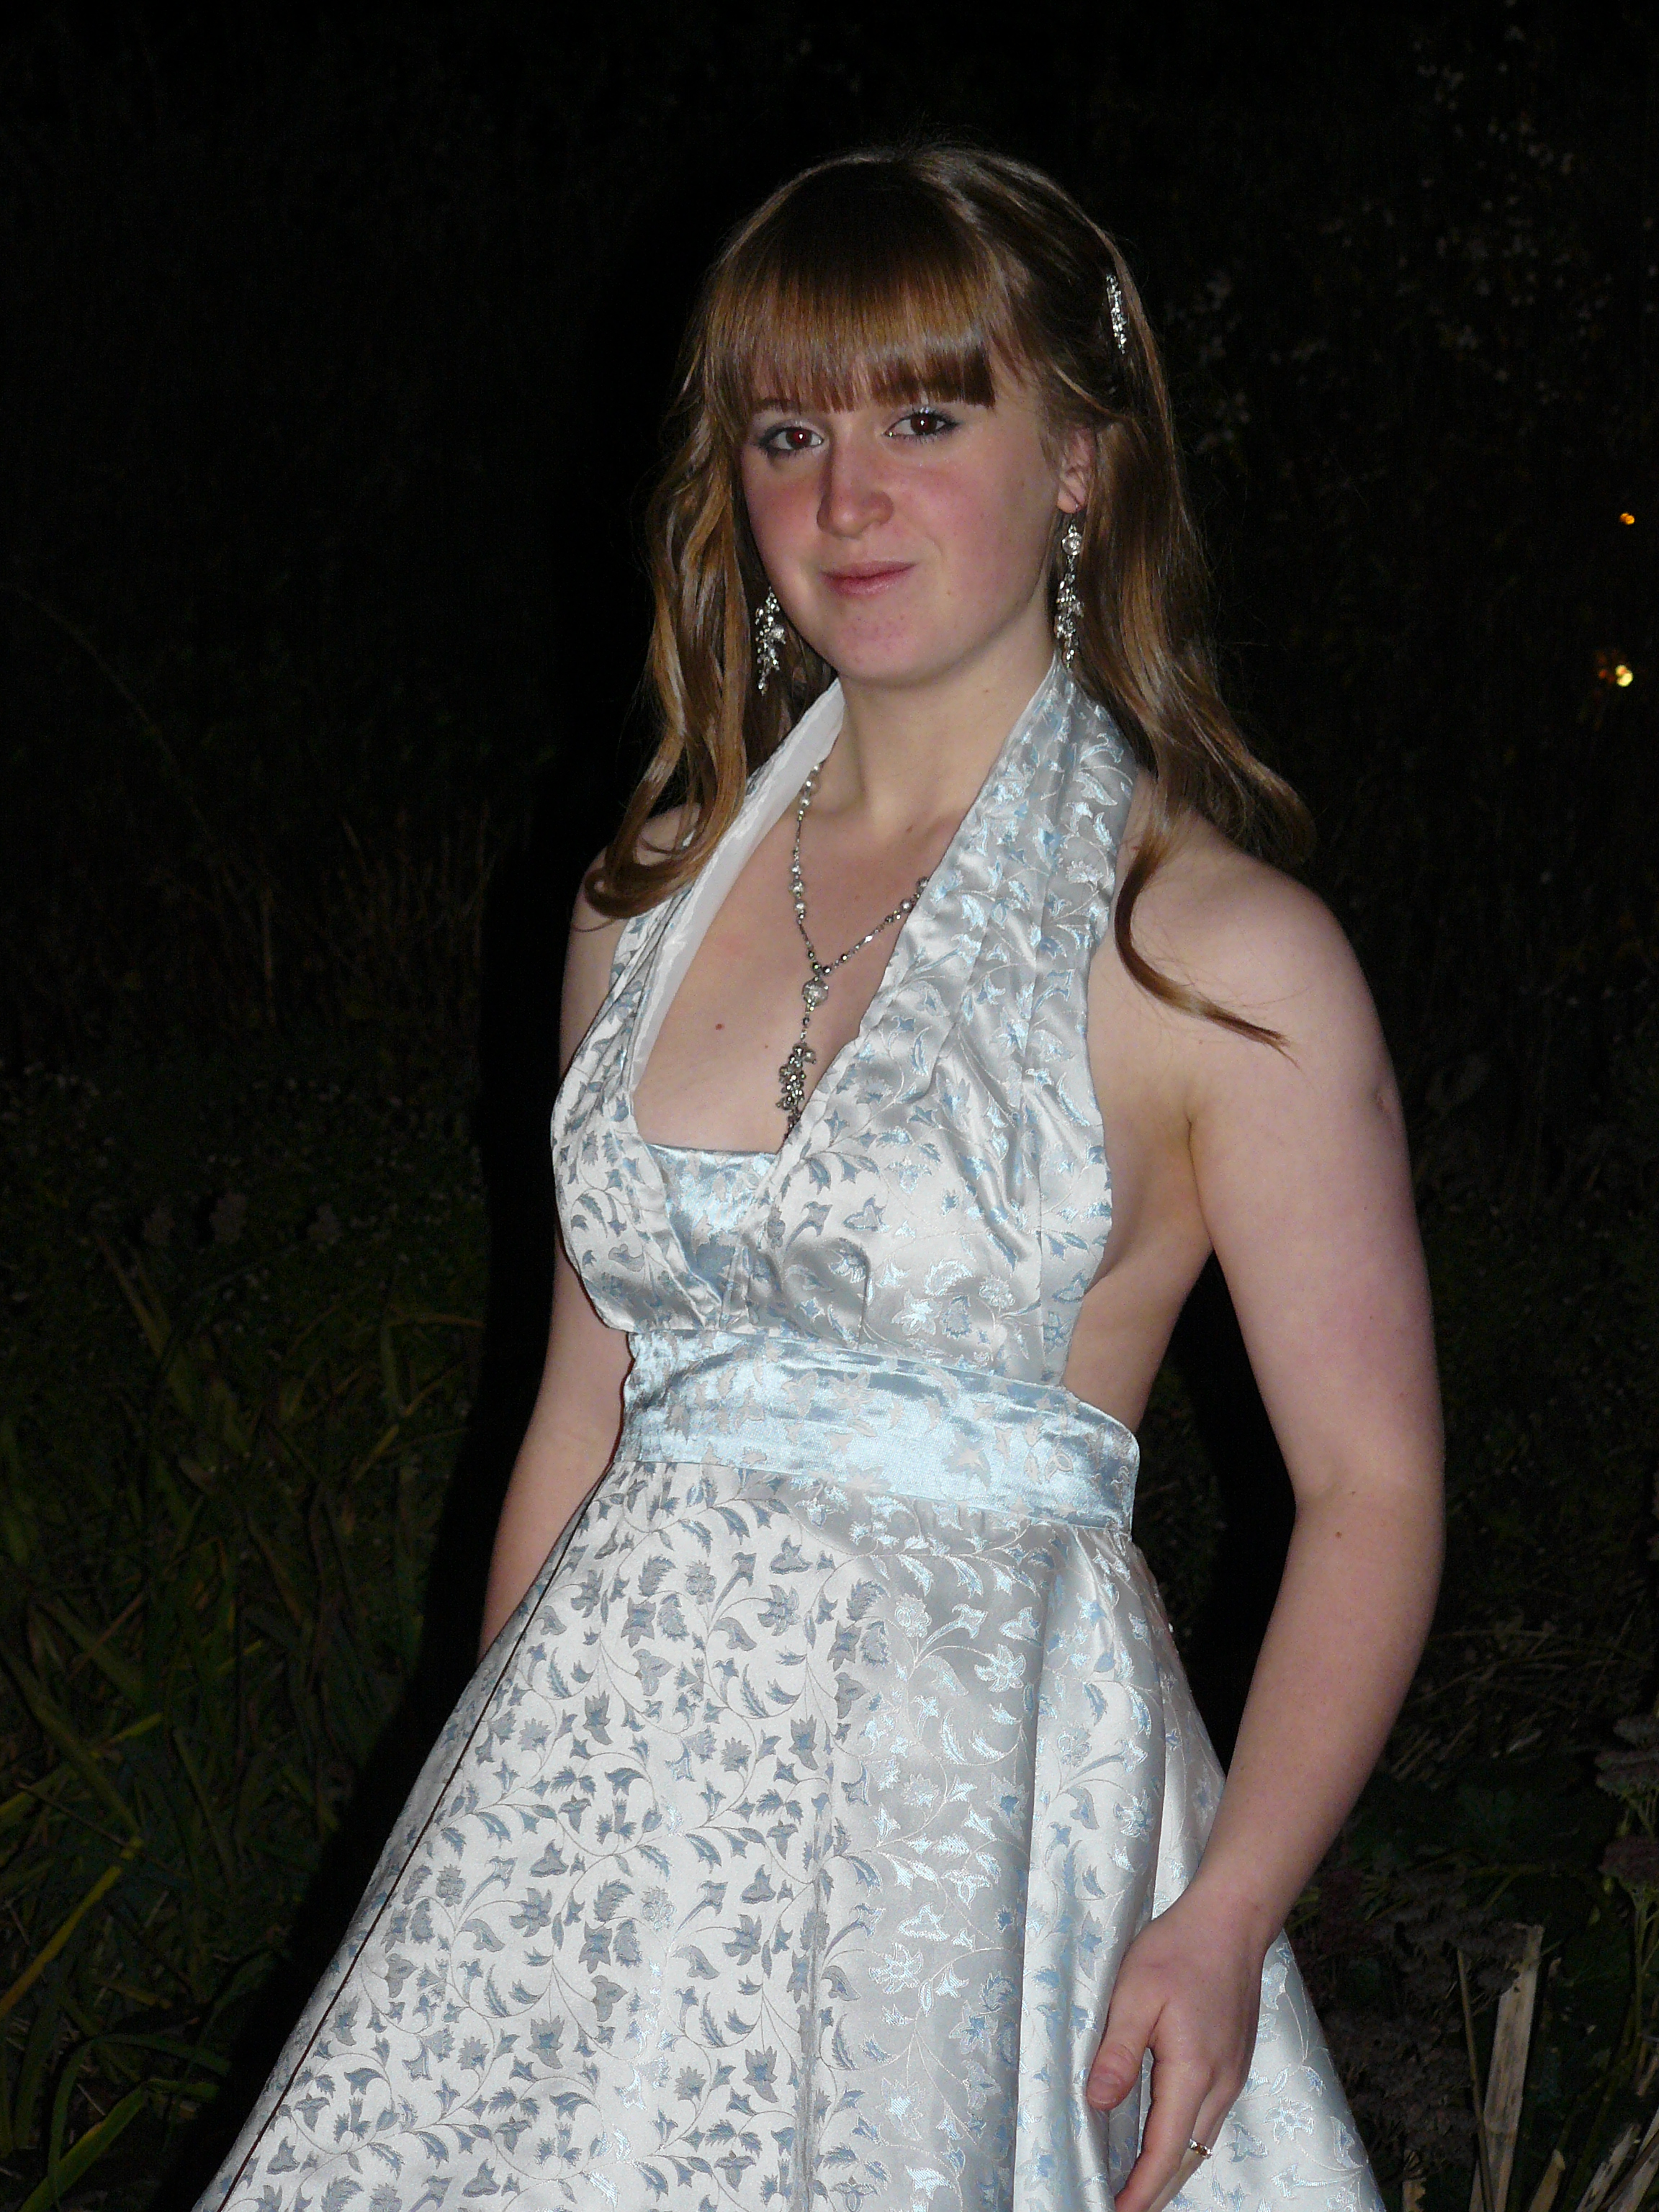
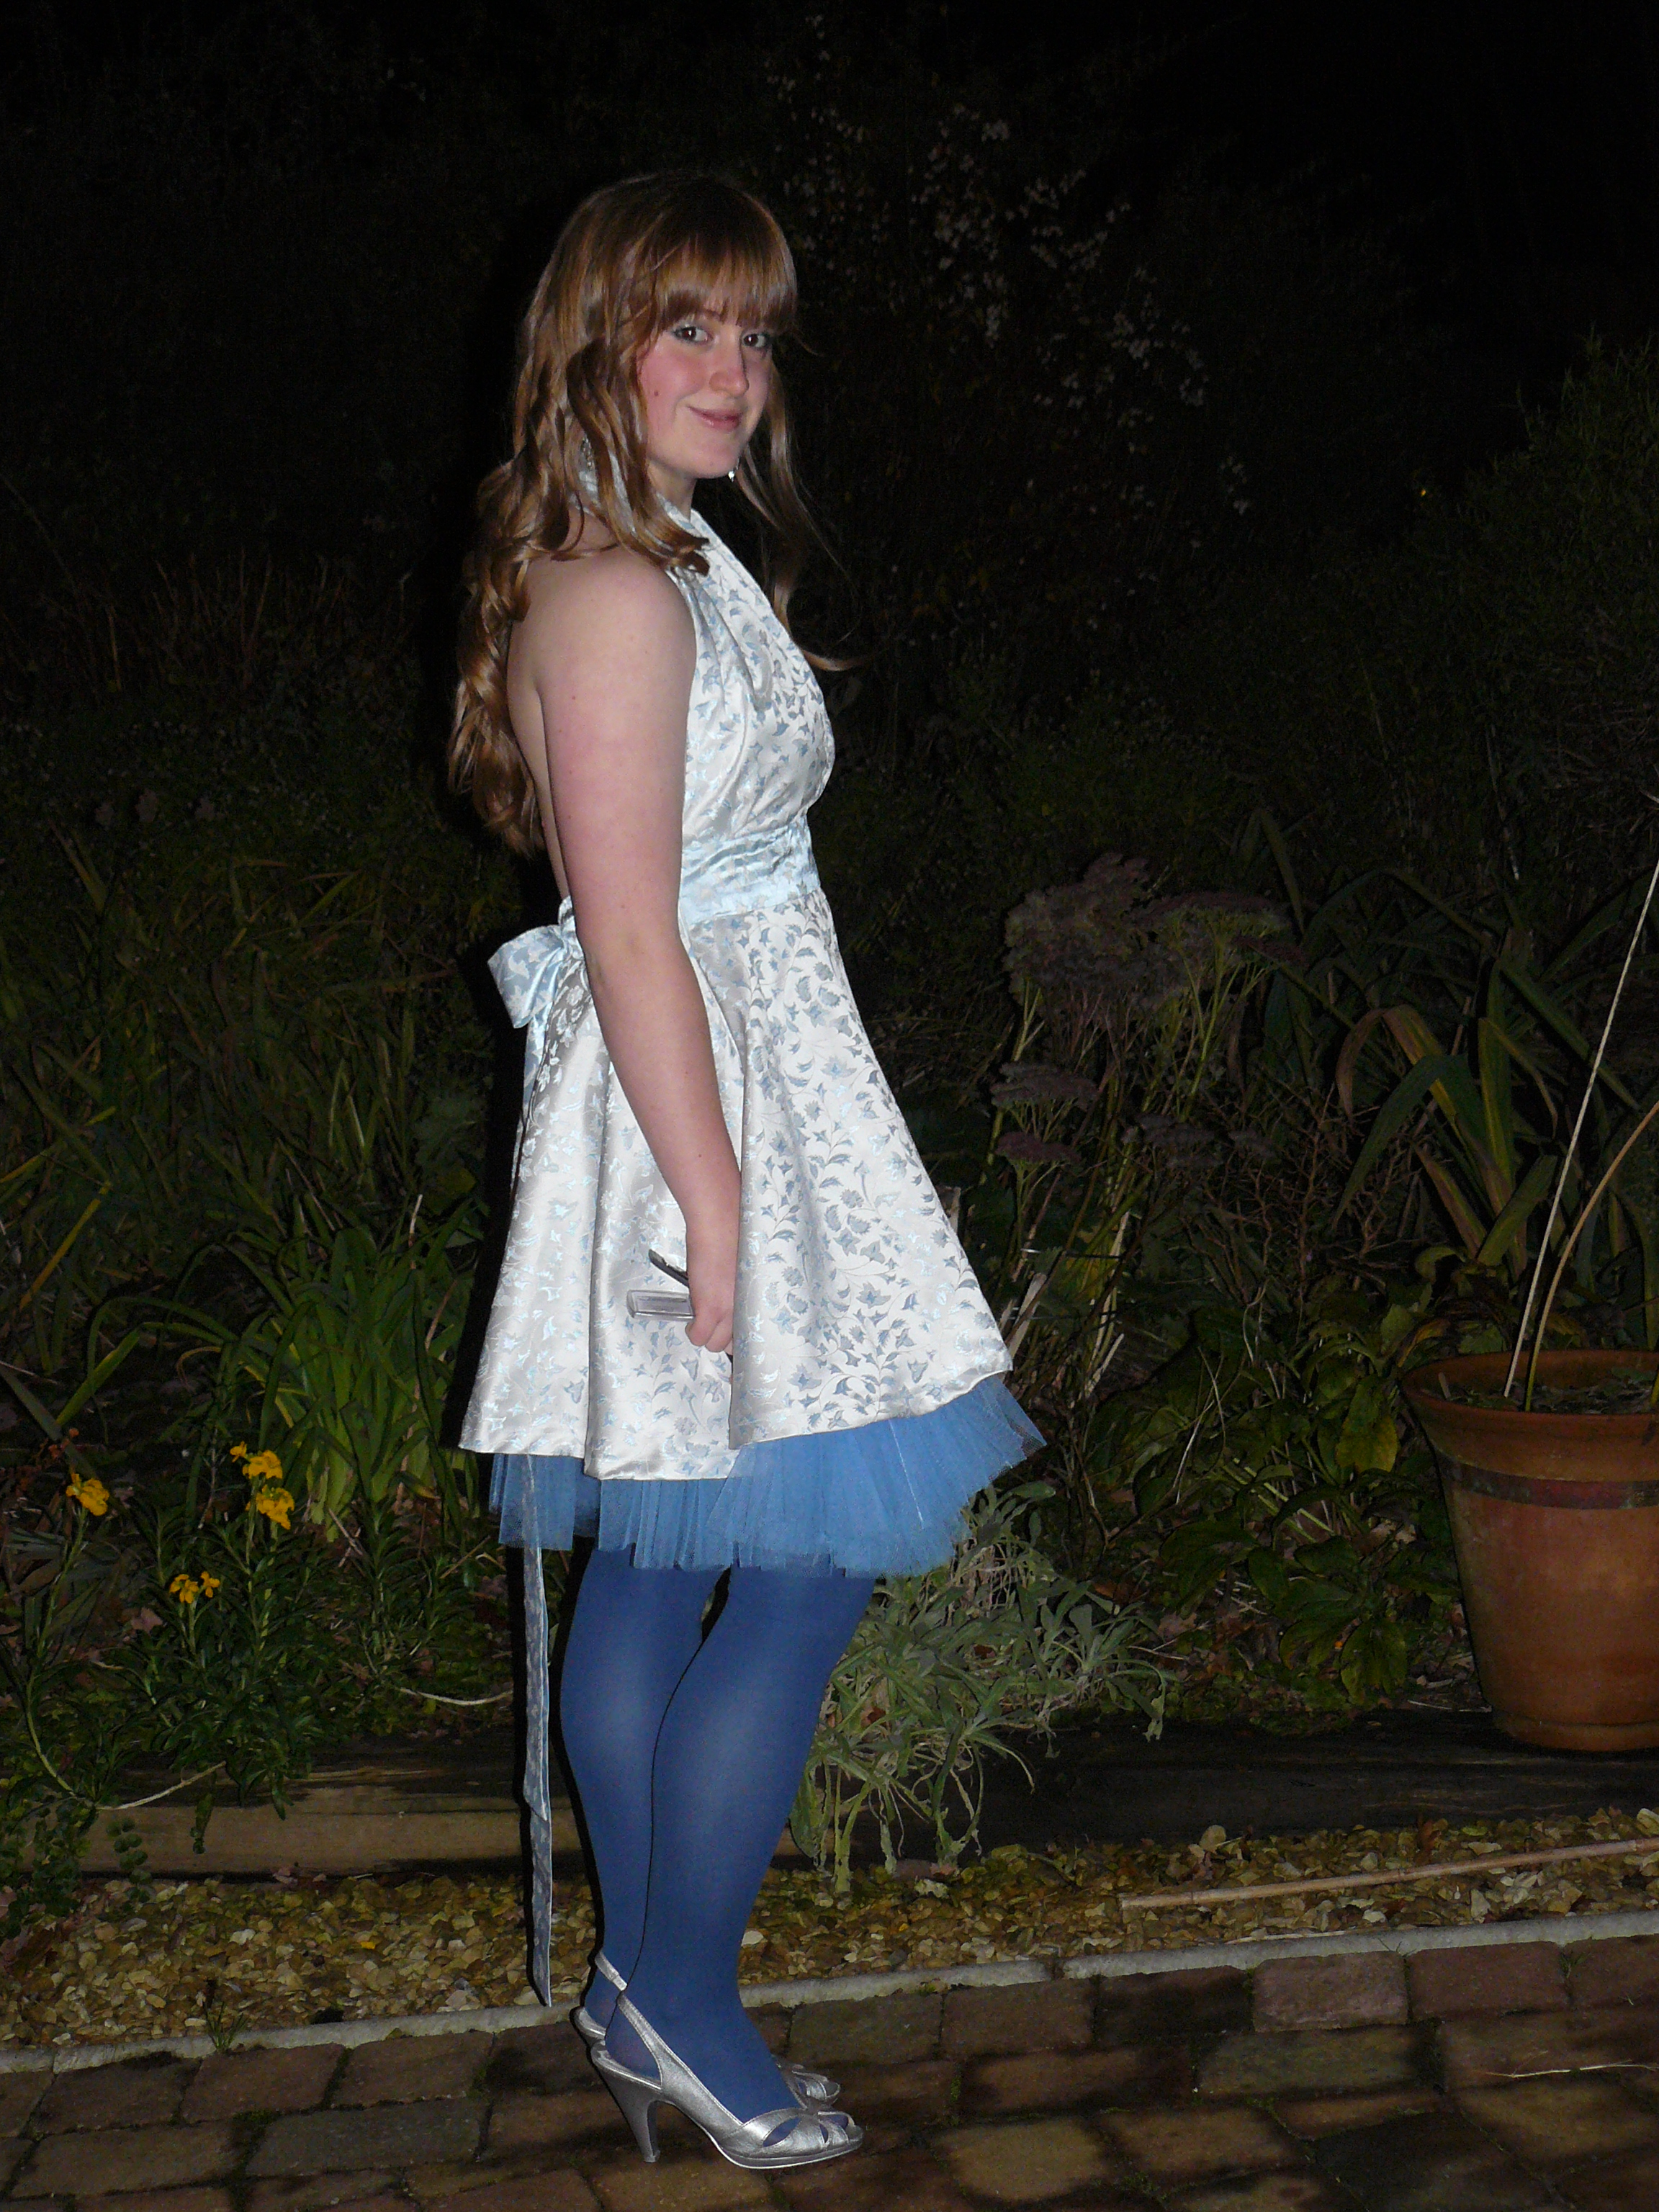
 This is a knee-length ball dress I created for myself from my own design. I bought a short bolt of fabric from a local market and found the print inspiring. I liked that the fabric was reversible and wanted to create a white print gown with blue sash belt detail.